If you’re wiring your OGO™ ORIGIN directly to a 12V lithium rechargeable battery, adding crimped-on connectors to your power cable is the cleanest, most reliable way to ensure a safe, solid electrical connection.
This guide will walk you through the process of preparing your power cable for a lithium battery hookup—step by step—whether you’re working with ring terminals, spade terminals, or plug-style connectors.

Why Use Crimped Connectors
Crimping connectors onto your OGO™ power cable provides:
-
Stronger, vibration-resistant connections (ideal for mobile setups)
-
Safer terminals with reduced chance of exposed wire or shorts
-
Cleaner wiring to fuse blocks or battery posts
-
Direct compatibility with LiFePO4 and other lithium battery posts
Tools & Materials You’ll Need
-
OGO™ ORIGIN 12V power cable (included with your unit)
-
Wire cutters
-
Wire strippers
-
Crimping tool (ratcheting crimper preferred)
-
Crimp-on terminal connectors (ring or spade, sized to match your battery posts)
-
Heat shrink tubing (optional but recommended)
-
Multimeter (optional, for testing continuity and voltage)
Step-by-Step Instructions
Step 1: Measure Your Distance
Before modifying your power cable, measure the distance between your OGO™ toilet and your battery or fuse box. Ensure the cable length is long enough—or plan to extend it using compatible gauge wire and butt connectors if needed.
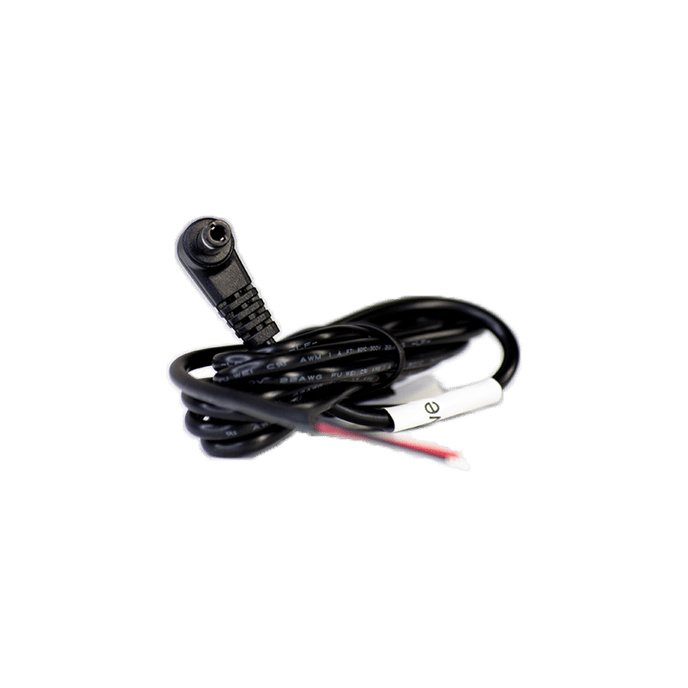
Step 2: Strip the Cable
-
Separate the red (positive) and black (negative) wires by gently pulling them apart for a few inches.
-
Use your wire strippers to remove about 3/8" to 1/2" of insulation from each wire end.
-
Make sure the copper strands are clean, untwisted, and ready for insertion.
Step 3: Choose and Prepare Your Connectors
Select the correct crimp-on terminals to match your battery’s post or terminal block. Most lithium ion batteries use M6, M8, or M10 post sizes—so choose ring terminals with the right inner diameter.
Slide heat shrink tubing over the cable before you crimp (if using). You’ll heat it later for a clean, sealed finish.
Step 4: Crimp the Connectors
-
Insert the stripped copper wire fully into the metal barrel of the connector.
-
Using your crimping tool, compress the barrel firmly in the correct notch (usually color-coded: red for 18–22 AWG, blue for 14–16 AWG, yellow for 10–12 AWG).
-
Give a gentle tug to confirm the wire is securely held.
Repeat for both red and black wires.
If using heat shrink tubing, slide it over the crimped area and heat it until snug for extra protection.
Step 5: Connect to Your Lithium Battery
-
Red wire goes to the positive (+) battery terminal
-
Black wire goes to the negative (−) terminal
Use locking washers and nuts if required. Tighten everything securely.
✅ Once connected, your power cable is now properly terminated for safe, efficient use with any 12V lithium rechargeable battery.
.jpeg?width=449&height=323&name=12V%20lithium%20(LiFePO4%20preferred).jpeg)
Final Checks Before Powering On
-
Make sure your fuse (if inline) is properly rated—10 amps recommended
-
Confirm polarity with a multimeter (red = positive, black = negative)
-
Plug the barrel jack into the rear power port of the OGO™ ORIGIN
Your fan should spin quietly, and your unit is now powered and ready.
Final Word
Crimping your own connectors isn't just a solid electrical skill—it’s a way to take full control of your install. Whether you’re in a van, cabin, or tiny home, it ensures your OGO™ ORIGIN runs efficiently and safely off the 12V lithium battery you trust most.
Reliable connection. Cleaner wiring. Ready for real-world use.
Need help finding the right terminal size or wire gauge? Reach out—we’re here to help you power up confidently.