What You Need
-
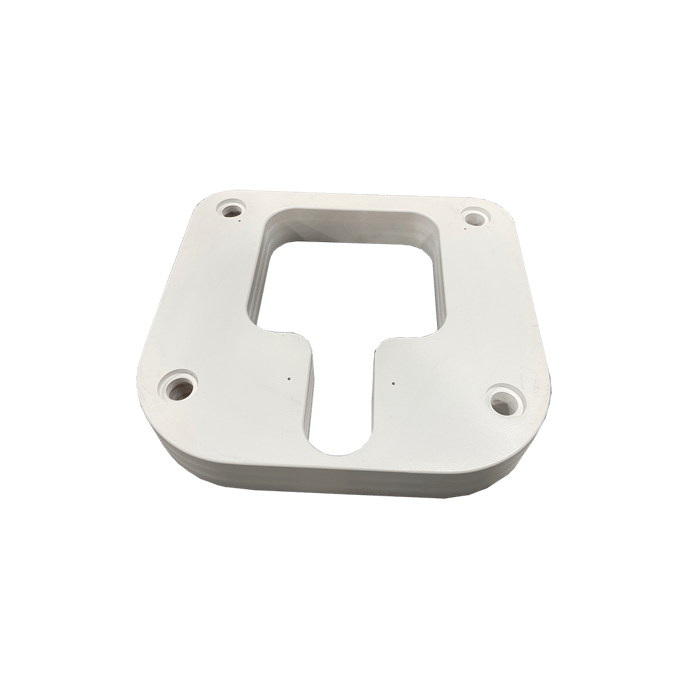
OGO™ ORIGIN Floor Riser Drain Adapter Plate
-
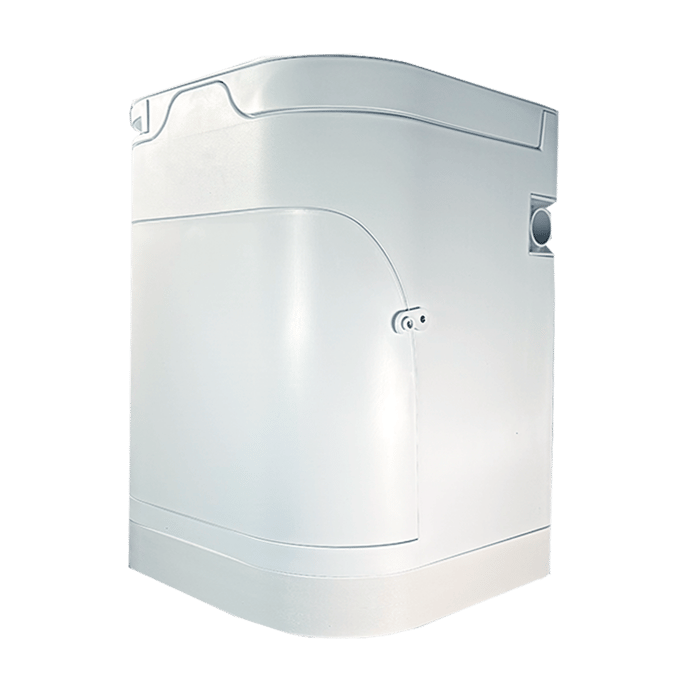
OGO™ ORIGIN Compost Toilet
-
Screwdriver or Drill
-
Mounting hardware (included)
Why Use a Riser Plate
-
Adds Height:
Gives you a more natural sitting position, especially in RV or van setups with raised floors. -
Easier Access:
Helps align the toilet with drainage systems (urine diverter or black tank drain kits). -
Cleaner Install:
Covers any gaps or old plumbing holes for a tight, finished look.
Step-by-Step Installation
1. Prep Your Space
-
Remove anything loose.
If you're replacing an old toilet, make sure the surface is clear and clean. -
Check surface level.
Make sure the floor under the Riser Plate is flat and solid.
2. Position the Riser Plate
-
Center the Riser Plate over your drain hole (if applicable).
-
Align it based on where you want your OGO™ toilet to sit.
(Front to back and side to side.)
3. Secure the Riser Plate
-
Use the provided screws to attach the Riser Plate directly to the floor.
-
Drill into the floor if needed — just make sure you’re not hitting tanks, pipes, or wiring underneath.
4. Install the OGO™ Toilet
-
Place the OGO™ ORIGIN on top of the Riser Plate.
-
Secure it with the toilet mounting brackets and hardware provided.
-
Connect your vent and/or drain lines just like a normal install.
Common Questions
Q: Do I have to use the Riser Plate
No — it's optional. But it helps if you need a higher seat height or if you want a cleaner install over an old flange or drain hole.
Q: Will the Riser Plate move around
Not if installed correctly.
Once it's screwed into your floor and the OGO™ is bolted onto it, everything is locked down tight.
Q: Can I install it over an old black tank flange
Yes — that's actually one of its best uses.
It covers and seals old holes while giving your compost toilet a fresh, level surface to mount onto.

Quick Tips
-
Always pre-check under your floor before drilling.
-
Use all provided hardware. Skipping screws can cause wobble.
-
If mounting to thin floors, consider extra reinforcement underneath.